object ⇄ fill
Remove the object, fill the background, and keep the object
* Free to use — selecting, editing and every export run in your browser, and nothing is uploaded unless you start a step that says it will: the AI tools, background removal on its sharper engine (an in-browser engine is one click away under the same button), or upscaling a photograph (logos and flat artwork are enlarged on your device). A free account (Google, Apple or an emailed code — no card) is needed to download the finished file, and comes with credits for the server-side tools.
Every cleanup tool can erase an object. This one lifts it onto its own layer and fills the background behind it, so "remove" becomes "move", and you can always change your mind.
Lift an object from a photoErasing is a one-way door
Cleanup-style tools inpaint over the object and hand you a flattened result: the object is gone, forever, and if the fill has an artifact you start over. The layered version of the same operation keeps everything: object on one layer, reconstructed background on another. Slide the object aside with the Move tool, or just hide it — the "removal" becomes a visibility toggle, and if you want to scale or duplicate it from there, that is what the exported PSD is for.
How the fill works
Select the object (one AI click), Lift selection, then Fill behind. The fill runs on our dedicated removal engine: a model built specifically for this job that is structurally incapable of inventing new objects into the hole. We adopted it after diffusion models kept hallucinating furniture into large fills during testing. Filled regions are auto-prefixed AI_Fill_ in the layer names.

The result, unretouched
This is real product output: the subject-shaped hole in the background, filled at full resolution. Person-sized removals come back clean, with no soft ghosts and no invented objects.
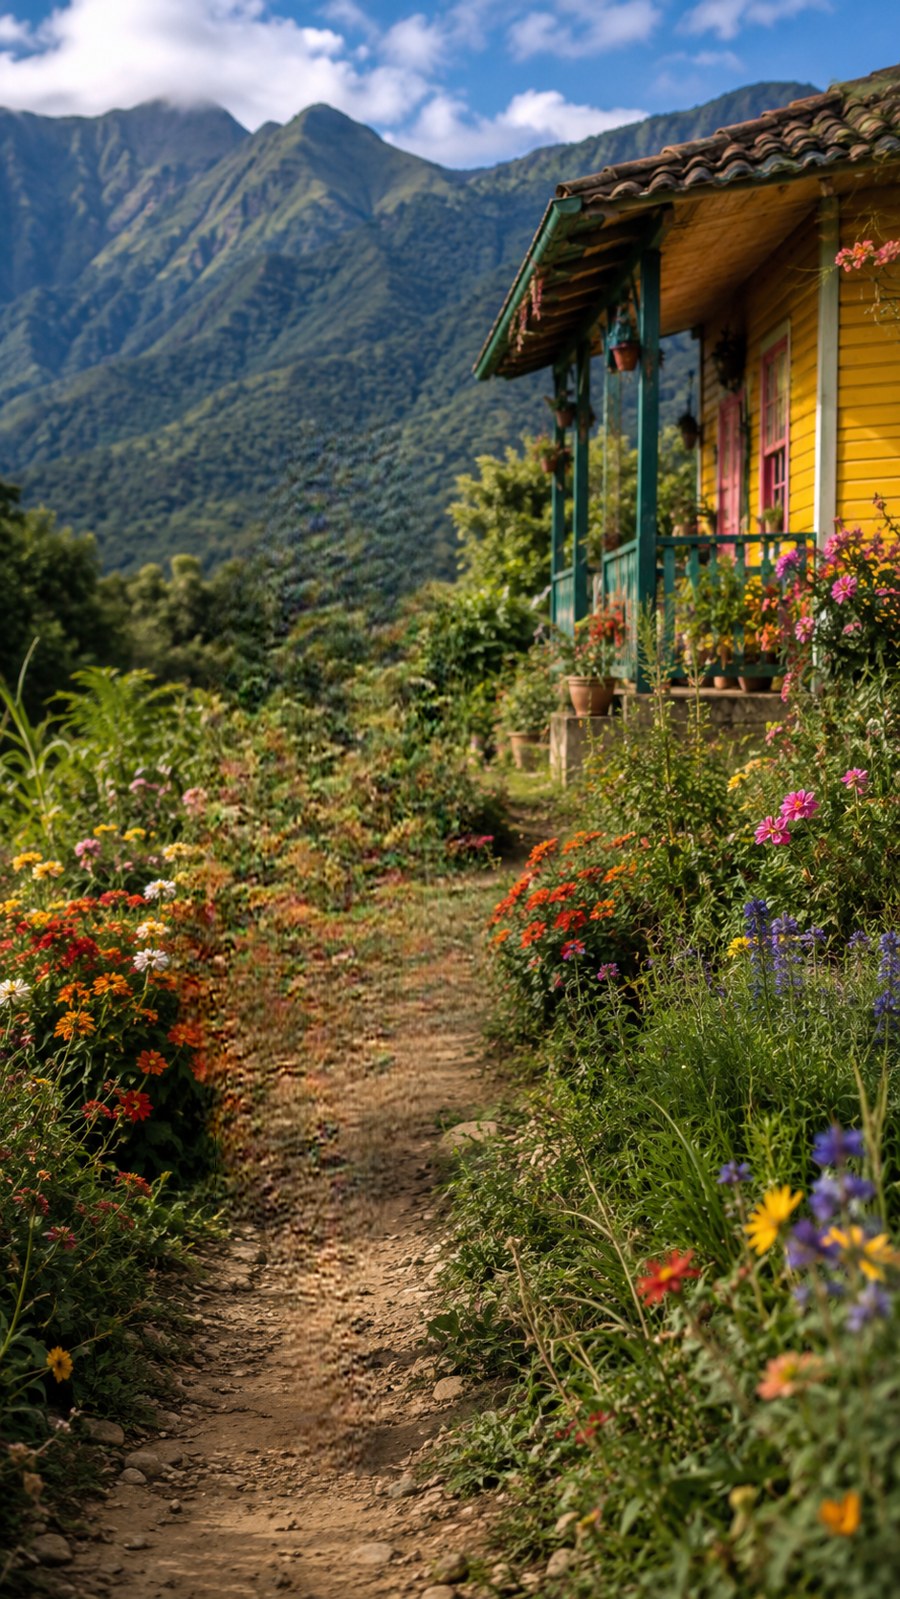
The hard test: a whole car, shadow included
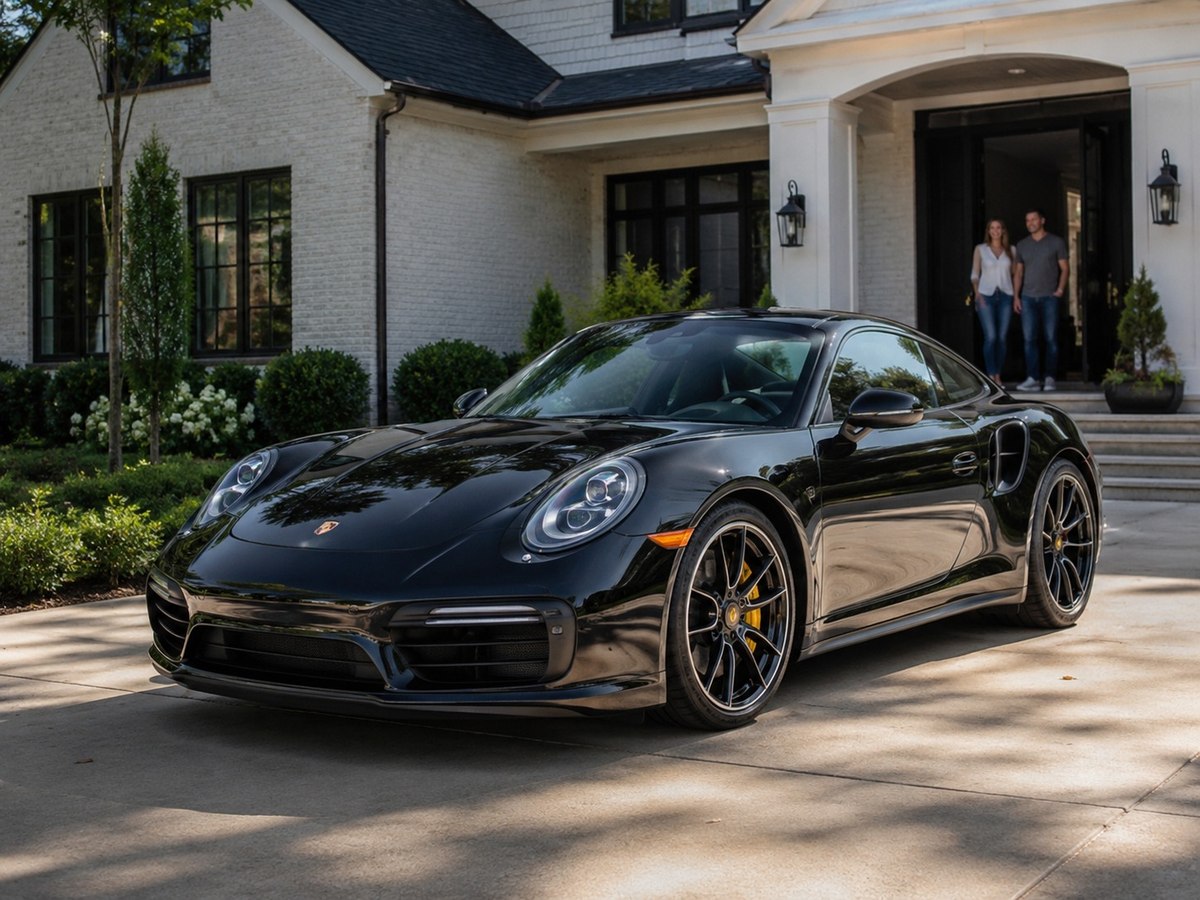
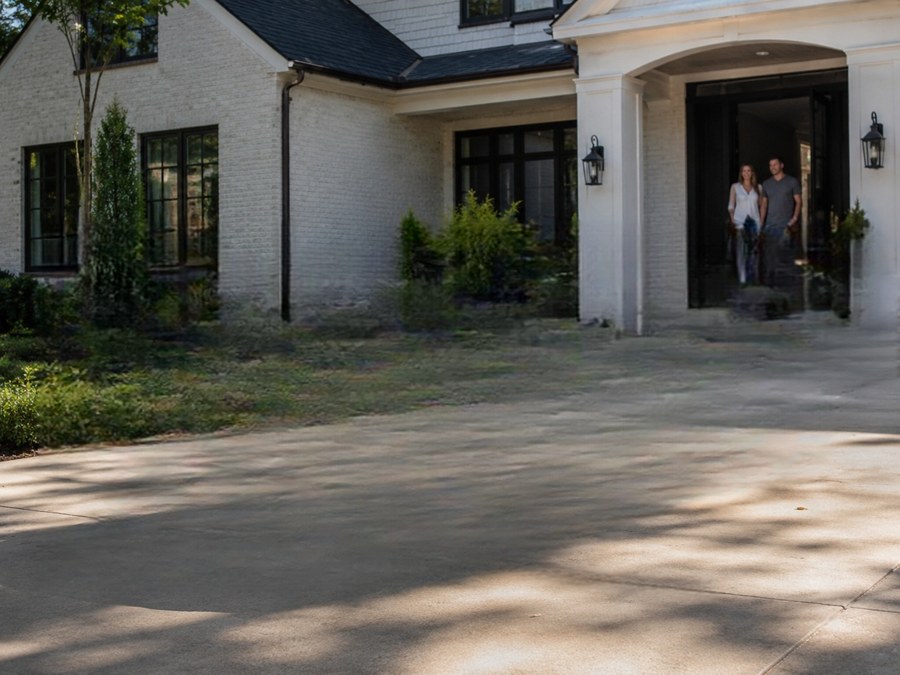
The nastiest removal is a large object with a hard cast shadow on a textured surface. Below, a car spanning half the frame comes out of a driveway: the concrete texture, the hedge line, and the porch steps all continue through where the car and its shadow were. Both frames are unretouched product output. Test scene generated for this demo.
A file, not a screenshot
Export the whole thing as a layered PSD — object layer, filled background, masks intact, and keep editing in Photoshop, Photopea, Affinity, GIMP, or Krita. Cleanup tools give you a picture; this gives you the working document.
Frequently asked
How is this different from Cleanup.pictures or Magic Eraser?
Those erase and flatten. This lifts the object to a layer and fills behind it — same visual result if you hide the layer, but reversible and editable.
What does it cost?
Selecting and lifting are free, in your browser. A smooth background — sky, a gradient, a flat wall — is also filled free, locally. A textured background goes to the server fill and starts at 2 credits; large or structured holes are routed through an HD pass that costs more, currently 6 credits, and the price is shown on the button before you click. Signing up gets you 6 free credits with no card required, which covers the server fill; the HD pass runs on a paid engine and needs credits you have bought.
How good are the fills?
See the samples page: whole-person removals from busy scenes come back with the background continuing naturally, at full resolution up to 4K. The engine is purpose-built for removal and cannot invent objects into your photo.
Keep reading
Extract every object onto its own layerSeparate a subject and keep the backgroundProduct photos as layered filesRelated
Canva can layer an image now — but only inside CanvaGet image layers into PowerPoint: the clean wayDepth parallax wallpaper layers from your own imageSeparate the subject from the background, and keep bothPull the text out of an image — as text you can actually editMost "image to PSD" converters are fake. Here is the 30-second test.Free online color separation for screen printingSpot color separation, free and in your browser